Color Curves Explained
Color Curves Explained: Actually Easier Than You Think
Table of Contents
- What Color Curves Actually Control
- How to Use Color Curves
- Presets: The Fastest Way to Get It Right
- FAQ
What Color Curves Actually Control
Ever notice how editing with curves instantly sounds advanced? As if anyone touching color curves must be working at a professional level. In reality, color curves photo editing isn’t about complexity at all, it’s about precision. And once you understand the basics, it becomes one of the simplest ways to refine your photos.
At its core, a color curve controls three things: lights, darks, and midtones. That’s it.
Think of the image as divided into brightness zones. The top of the curve affects highlights (the brightest parts), the bottom controls shadows (the darkest areas), and the middle adjusts midtones — where most facial details live. Small movements in these areas can dramatically change how a photo feels.
How to Use Color Curves
Want to improve photo contrast? Slightly lift the highlights and gently lower the shadows. This creates depth without making the image harsh. If a photo feels flat, subtle adjustments in the midtones often restore balance. These are foundational photo editing basics — just visualized in a different way.
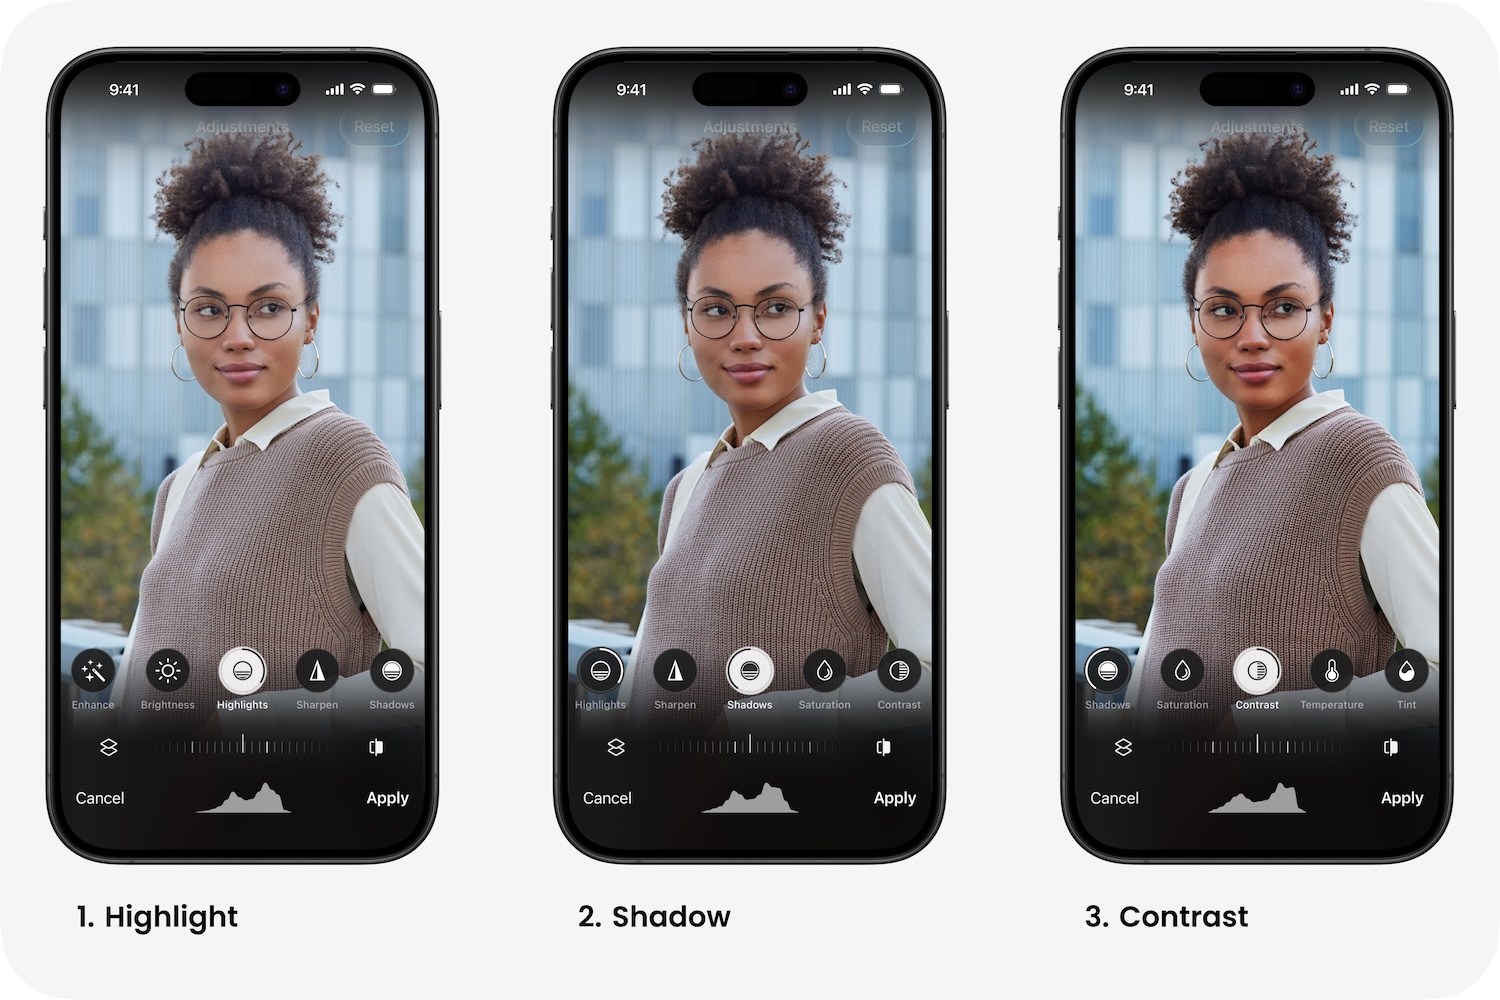
Color curves also influence mood. Lifting shadows slightly can create a soft, airy look. Deepening them adds drama. Adjusting specific color channels can warm up skin tones or cool down backgrounds — simple but powerful color correction tips that shape the atmosphere instantly.
The key is subtlety, as usual. Beginners often over-adjust curves, leading to unnatural contrast or extreme tones. The trick is making small, controlled changes and watching how the image responds.
Presets: The Fastest Way to Get It Right
For those who prefer simplicity, FaceApp comes with a set of pre-configured curve presets designed for the most common editing scenarios. With a single tap, you can apply a curve setting that fits your photo — and then fine-tune it further to match your specific image. It’s the perfect starting point: no need to build a curve from scratch when a smart preset already gets you most of the way there.
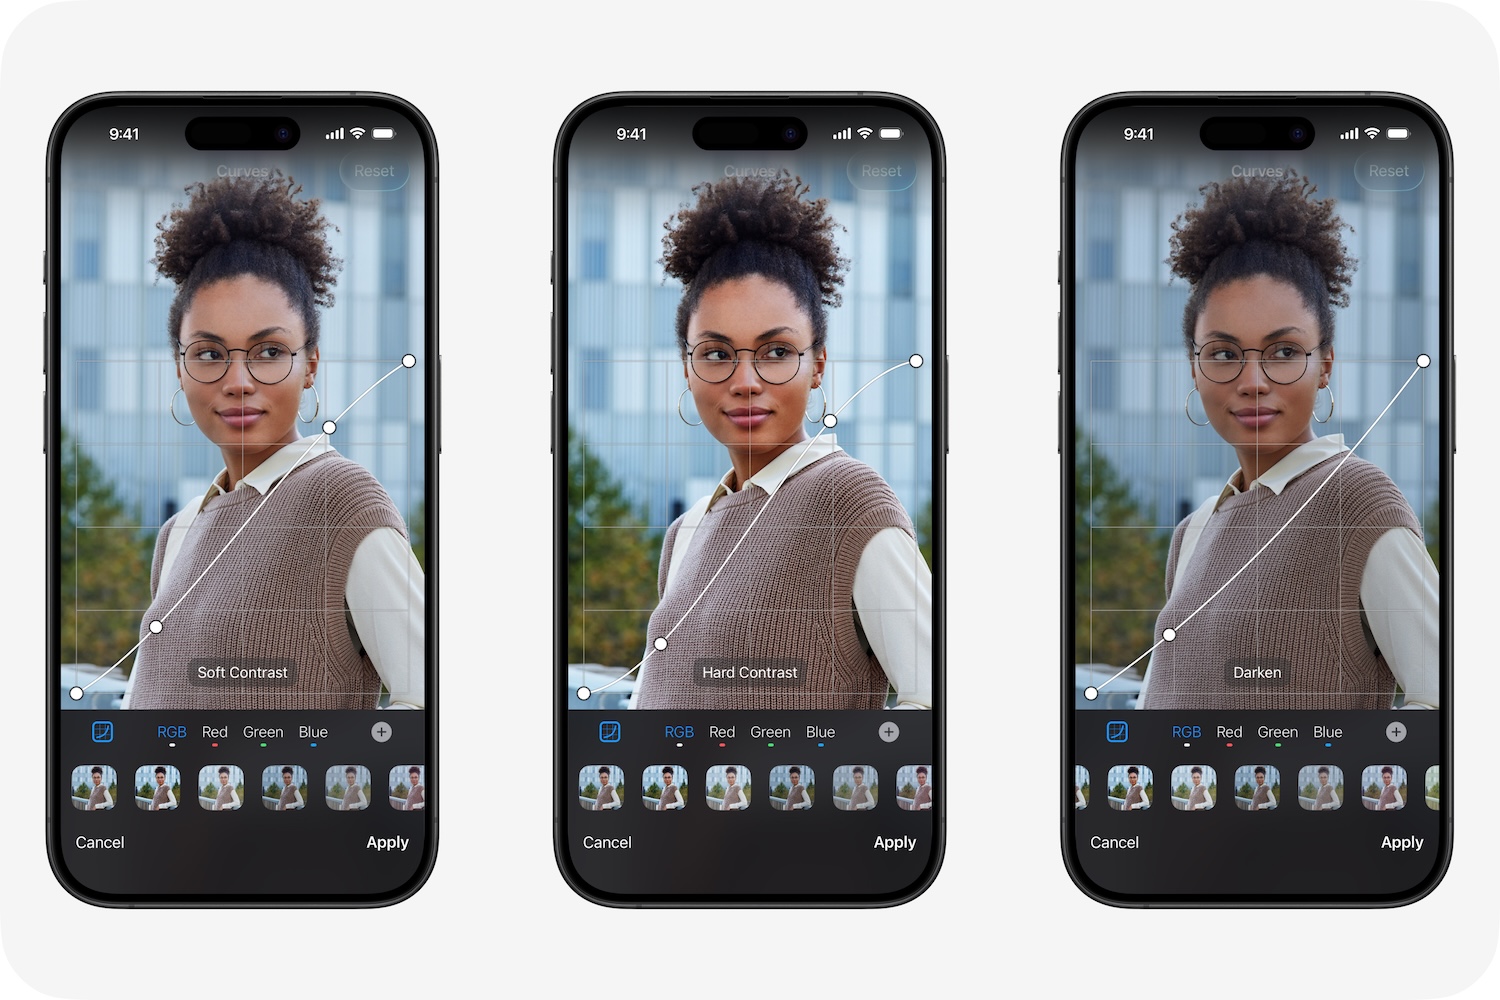
These presets cover everything from brightening flat shots to adding cinematic depth or warmth — and they work as a foundation you can adjust freely. Beyond presets, FaceApp’s intuitive sliders let you control tone, brightness, and depth without dealing with graphs or technical settings, delivering polished, curve-level results with minimal effort.
Curves aren’t reserved for experts. And once you see them that way, they become one of the most useful beginner editing tips you’ll ever learn.
FAQ
Q: Do I need any photo editing experience to use color curves?
A: No — color curves are easier than they look, and with presets as a starting point, anyone can get polished results with just a tap.
Q: What’s the most common mistake beginners make with curves?
A: Over-adjusting — small, subtle movements almost always produce better results than dramatic shifts.
Q: Can I use color curves to fix skin tones in portraits?
A: Yes — adjusting the midtones or individual color channels is one of the most effective ways to naturally balance and warm up skin tones.